Input Mapping
In this part of the tutorial, you will see how to use input mapping. Input mapping defines what data your component receives from the end users’ project. A component never operates on data in a project’s Storage, it always receives a copy of the selected data.
Input mapping is therefore used when your component needs to read data from the customer project – these are typically writers and applications. Implementing the input mapping requires three steps:
- adding input mapping to the component UI
- adding input mapping to the component source code
- verifying
Adding Input Mapping to UI
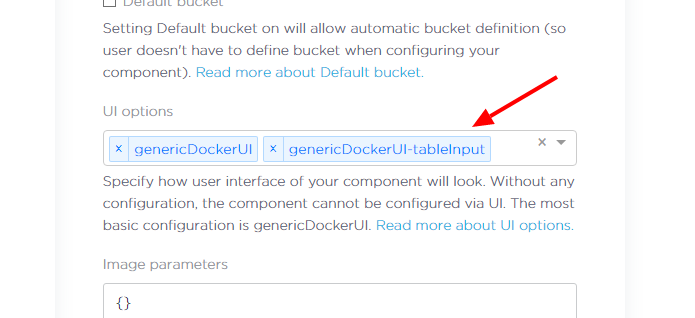
Adding the input mapping to the component UI is very simple. In the Developer Portal, edit the component
and add genericDockerUI-tableInput or genericDockerUI-fileInput (or both) UI options.
Save the changes, and the corresponding UI elements will appear in your component configuration. Keep in mind that the changes take up to 5 minutes to propagate to all Keboola instances.
Modifying Source Code
You also need to modify the source code so that it works with the input data. The data from input mapping will be available in the
/data/in/tables/ and
/data/in/files folders when the component is
run. This is almost identical to writing
Transformation code – the only difference is that you need to
use absolute paths (or the KBC_DATADIR environment variable).
Therefore you can modify the example component code to, for instance, the following one, which works with table input mapping.
import csv

print("Hello, World! from python")

csvlt = '\n'
csvdel = ','
csvquo = '"'
with open('/data/in/tables/source.csv', mode='rt', encoding='utf-8') as in_file:
    lazy_lines = (line.replace('\0', '') for line in in_file)
    reader = csv.DictReader(lazy_lines, lineterminator=csvlt, delimiter=csvdel, quotechar=csvquo)
    for row in reader:
        # do something
        print("The first row is ", row)
        # we don't want to print the entire file to the output
        exit()
Commit and push the code in your repository, and tag it with a normal version tag. This will trigger a build on Travis CI and automatically deploy the new version into Keboola. Keep in mind that after the deployment, it may take up to 5 minutes for the update to propagate to all Keboola instances.
Verifying
If you configured the UI correctly, you should see the corresponding control in the component configuration page.
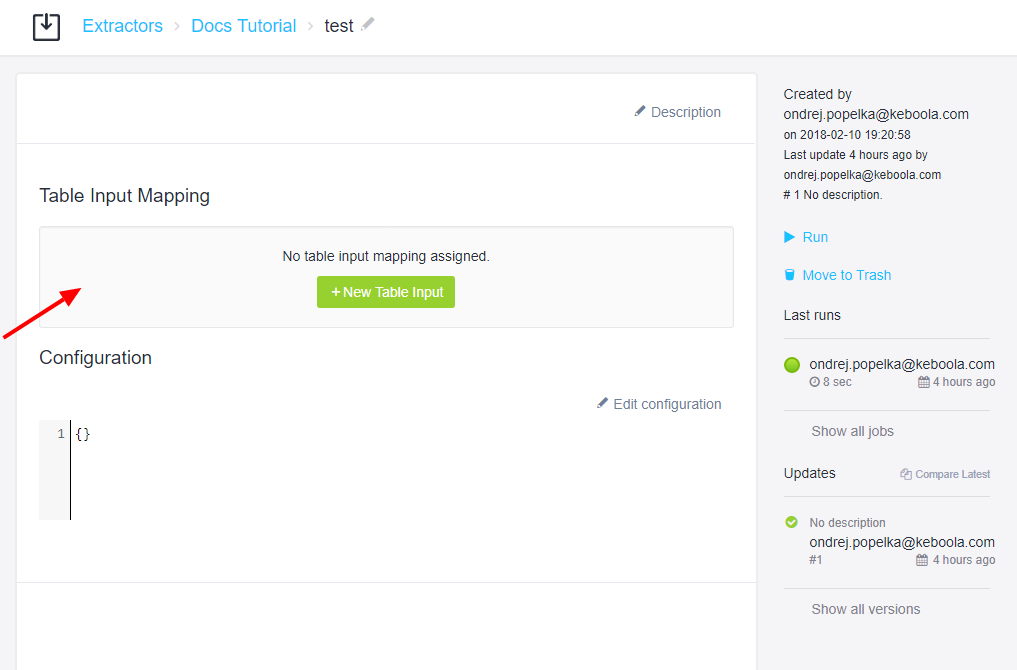
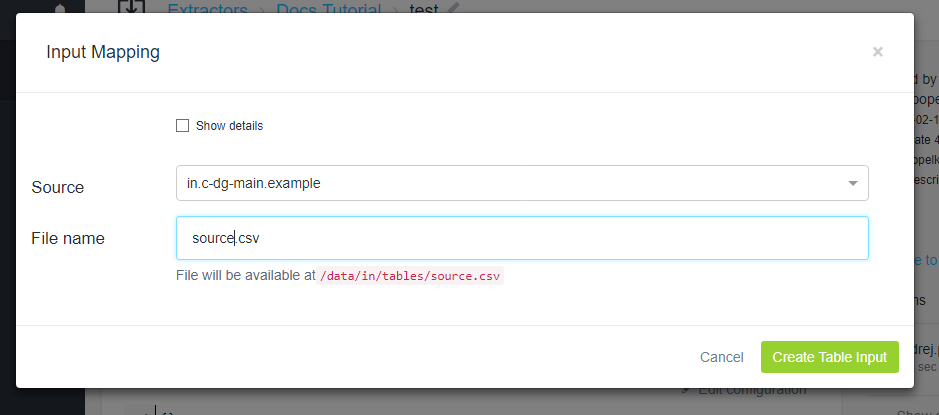
Add a New Table Input, select an arbitrary table from the project, and make sure to set Destination to source.csv
so that the final path matches /data/in/tables/source.csv, which is what you are expecting in the code.
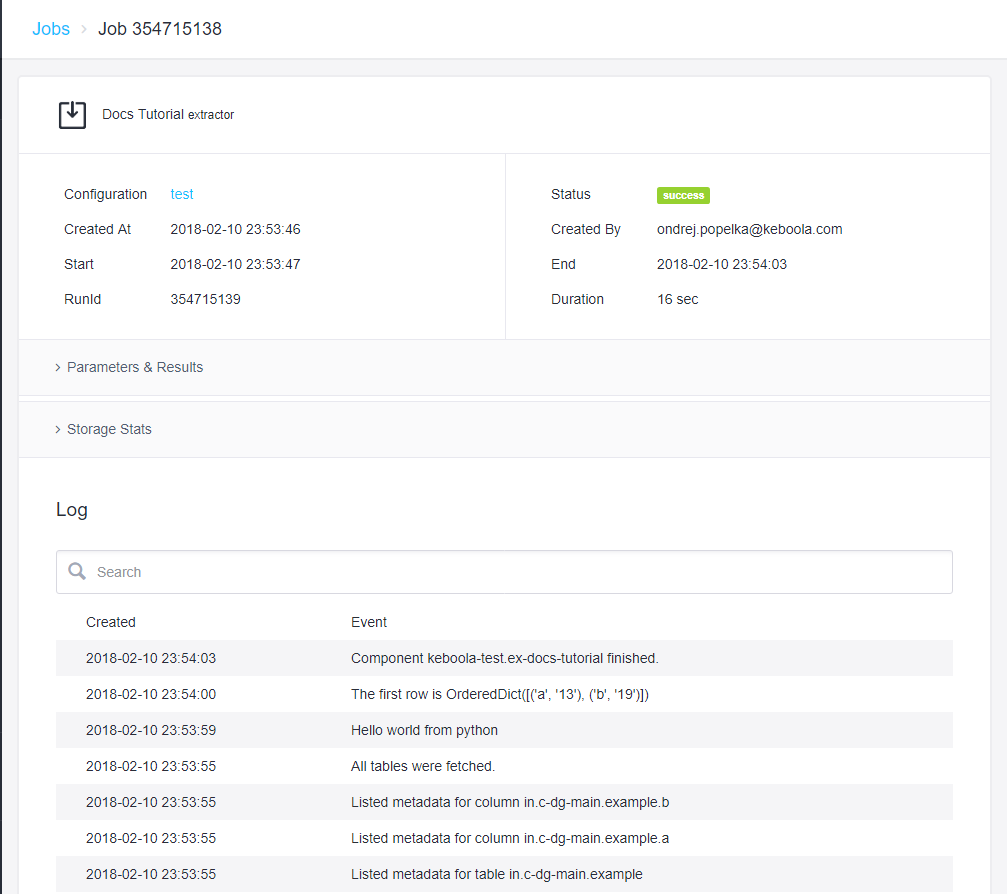
Now run the component and you should see the proper message in job events.
Summary
Your component can now successfully read a provided table. You can learn more about other input mapping options in the data folder specification. Also, the manifest files contain metadata which might be useful in your component. The next part of the tutorial will show you how to create output mapping.