Configuration
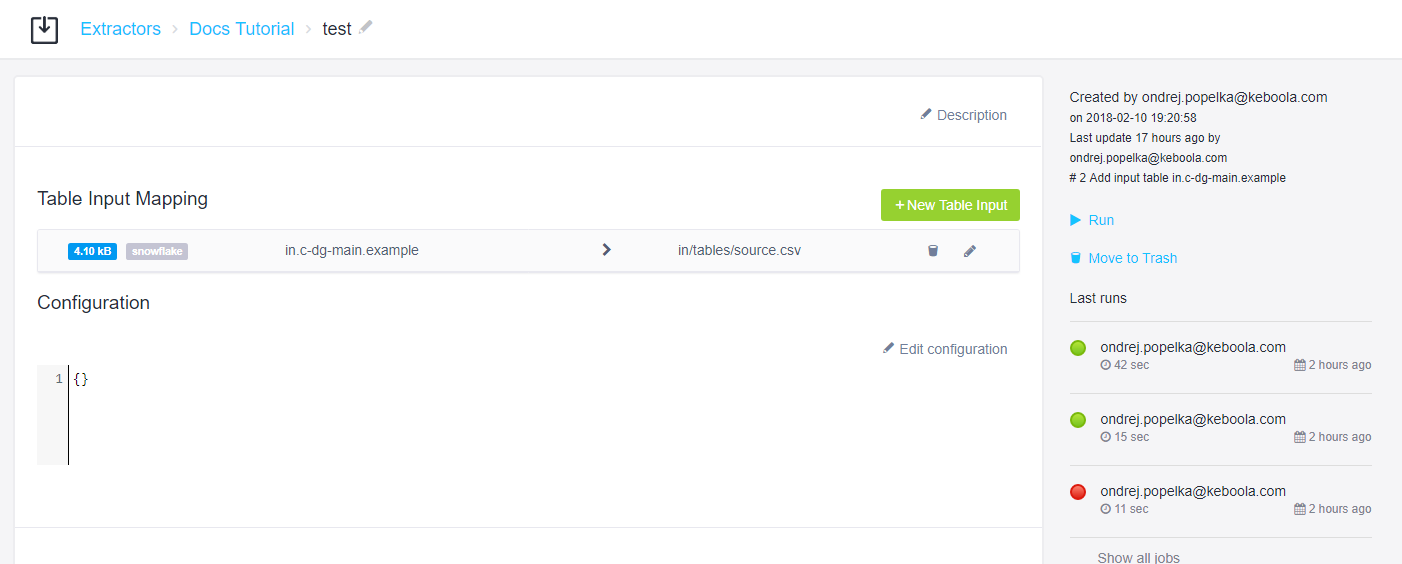
In this part of the tutorial, you will see how to pass arbitrary configuration parameters to your component. By this time, you probably noticed that your component has a configuration field:

You can use this field to pass arbitrary configuration parameters to your component. The parameters will be available in the /data/config.json file provided to the component when it is run.
Note: if you don’t want to hard-code the /data/ directory use the KBC_DATADIR environment variable.
Let’s assume you want to make the sample component
add a given sound to each row a given number of times. For that you’ll need two parameters: sound and repeat.
Modifying Source Code
To implement the above, you can change the sample component to:
import csv
import os

# Load the Component library to process the config file
from keboola.component import CommonInterface

# Rely on the KBC_DATADIR environment variable by default,
# alternatively provide a data folder path in the constructor (CommonInterface('data'))
ci = CommonInterface()
params = ci.configuration.parameters

print("Hello world from python")

csvlt = '\n'
csvdel = ','
csvquo = '"'

# get input table definition by name
in_table = ci.get_input_table_definition_by_name('source.csv')

with open(in_table.full_path, mode='rt', encoding='utf-8') as in_file, \
        open(os.path.join(ci.tables_out_path, 'odd.csv'), mode='wt', encoding='utf-8') as odd_file, \
        open(os.path.join(ci.tables_out_path, 'even.csv'), mode='wt', encoding='utf-8') as even_file:
    lazy_lines = (line.replace('\0', '') for line in in_file)
    reader = csv.DictReader(lazy_lines, lineterminator=csvlt, delimiter=csvdel,
                            quotechar=csvquo)

    odd_writer = csv.DictWriter(odd_file, fieldnames=reader.fieldnames,
                                lineterminator=csvlt, delimiter=csvdel,
                                quotechar=csvquo)
    odd_writer.writeheader()

    even_writer = csv.DictWriter(even_file, fieldnames=reader.fieldnames,
                                 lineterminator=csvlt, delimiter=csvdel,
                                 quotechar=csvquo)
    even_writer.writeheader()
    i = 0
    for row in reader:
        if i % 2 == 0:
            even_writer.writerow(row)
        else:
            newRow = {}
            for key in reader.fieldnames:
                newRow[key] = row[key] + ''.join([params['sound']] * params['repeat'])
            odd_writer.writerow(newRow)
        i = i + 1
At the beginning, the Keboola Python Component library is imported and
initialized by reading the data directory (CommonInterface()). Its property configuration.parameters will provide the
configuration parameters as a dictionary. Apart from that the Python library
provides methods to handle input / output files and many more (see here for more information).
Similar library is currently available also for the R language. It does no magic or rocket science, so you can read the config file directly if you wish.
Commit and push the code in your repository and tag it with a normal version tag. This will trigger a build on Travis CI and automatically deploy the new version into Keboola. Keep in mind that after the deployment, it may take up to 5 minutes for the update to propagate to all Keboola instances.
Verifying
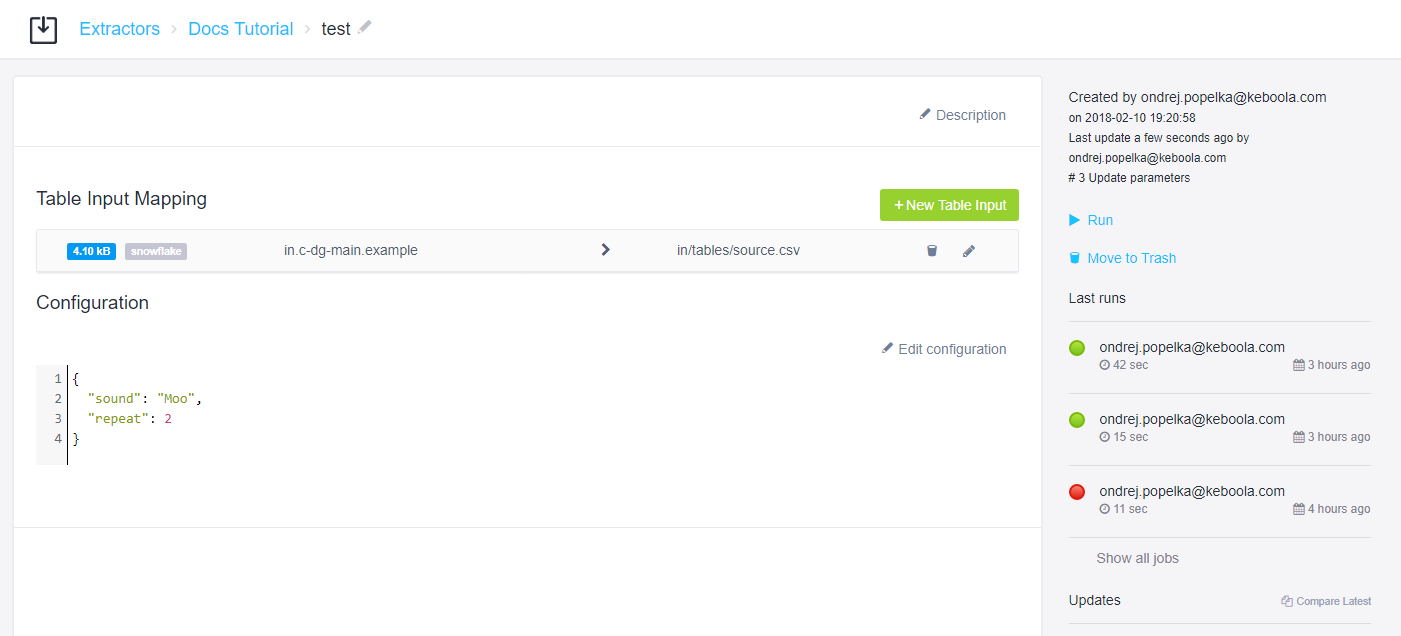
To verify that the parameters work, simply edit the component configuration in Keboola and paste in, for example:
{
    "sound": "Moo",
    "repeat": 2
}
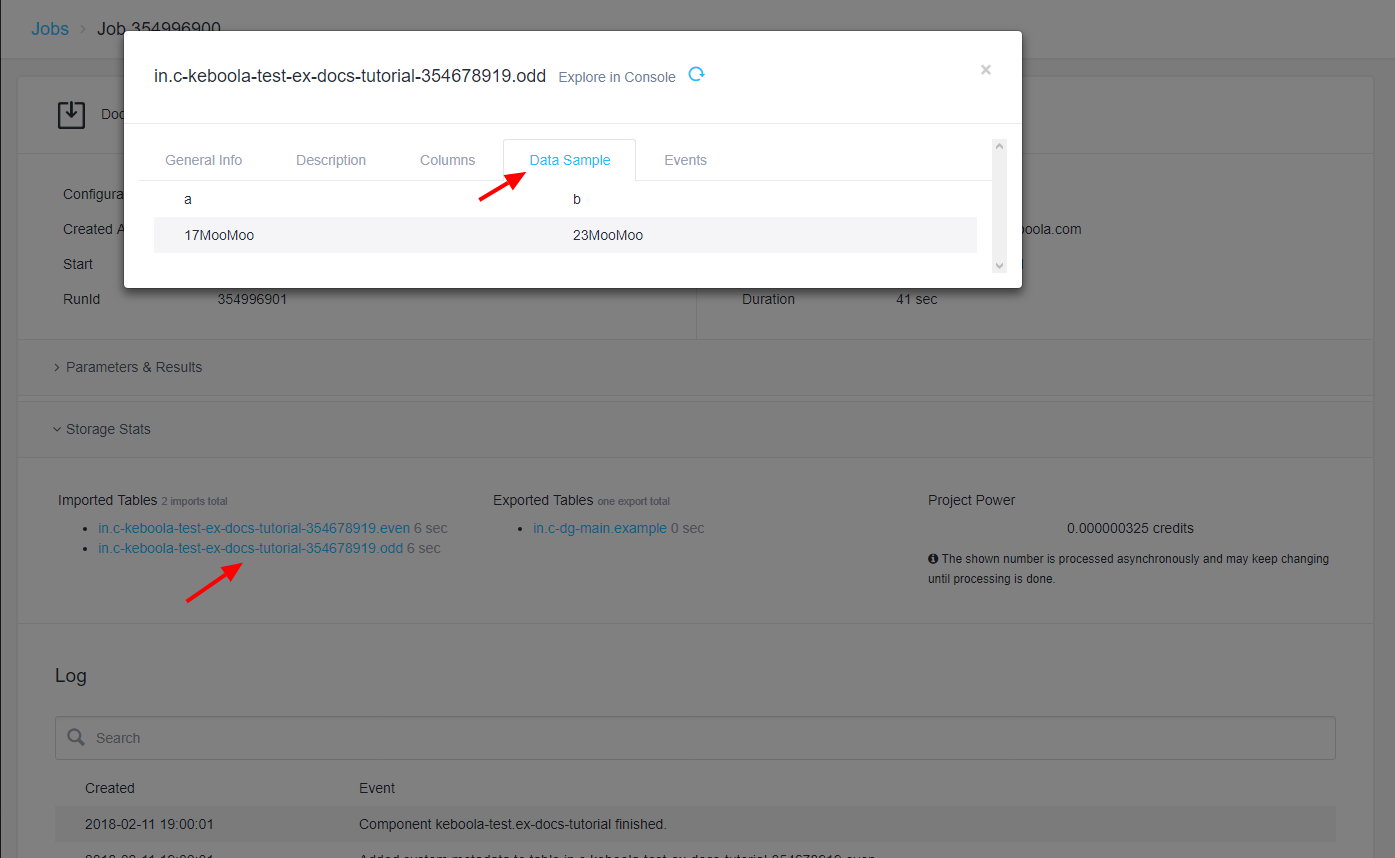
Run the component and examine the job results. In the odd result table, you should see that Moo was added twice to every value.

Creating UI
Entering configuration parameters using JSON data is quite low-level. Therefore you should provide a UI for the end user. The easiest option is to take advantage of the JSON editor based on the configuration schema. For the above configuration, the following schema can be created:
{
    "title": "Person",
    "type": "object",
    "properties": {
        "sound": {
            "type": "string",
            "title": "Sound:",
            "default": "Boo",
            "description": "The sound to make."
        },
        "repeat": {
            "type": "integer",
            "title": "Repeat sound:",
            "description": "Number of times to repeat the sound.",
            "default": 2,
            "minimum": 0,
            "maximum": 10
        }
    },
    "required": ["sound", "repeat"]
}
In the schema the two properties sound and repeat are declared along with the specification
of their form input fields.
You can test the above schema online (alternative) and verify that the
form generated from it produces the desired JSON structure. Once satisfied with the result,
simply paste the schema into the Configuration schema in your component properties in the
Developer Portal.
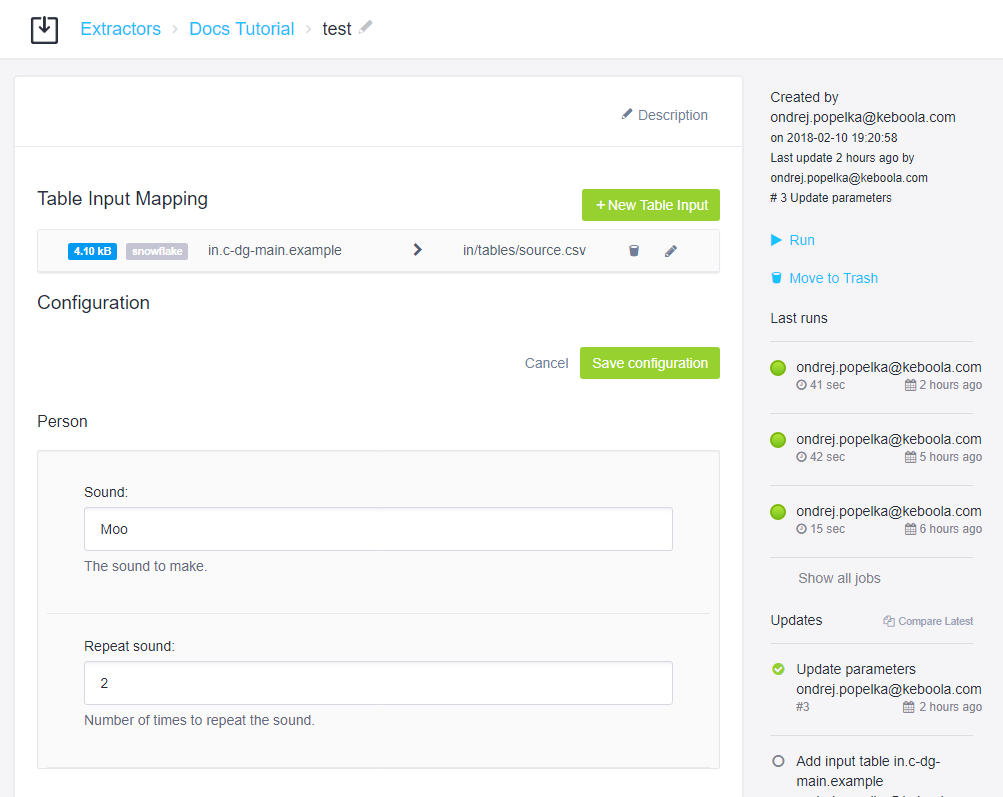
Once the change propagates to your Keboola instance, you should see the form in the UI:

The end user can now configure your component without writing the JSON with parameters. For a very complex UI, the JSON schema editor is not really suitable; contact us about available options.
Summary
Your component can now successfully read configuration parameters provided by the end user. You can read more about all the features of the configuration file. Keep in mind that the code presented above is simplified as it does not use any validation of end user parameters. The next part of the tutorial will show you how to configure processors.
